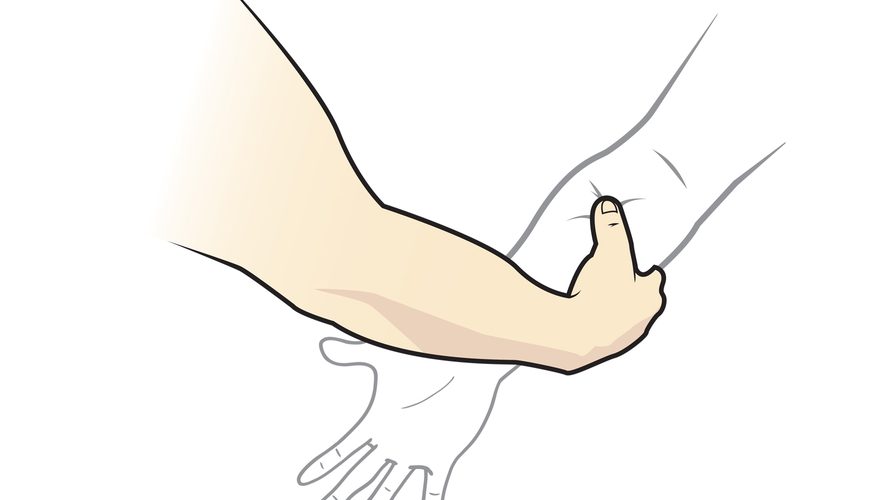
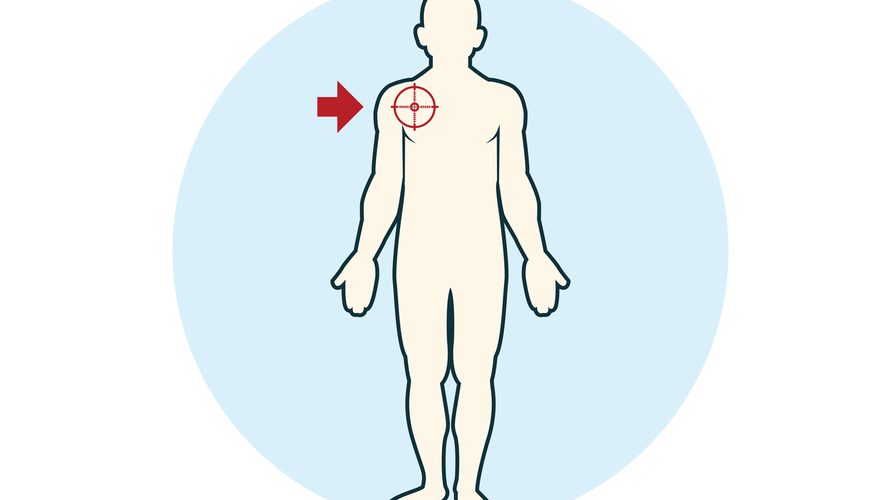
ParticipantsAfter having a discuss with my mentor, I started to design my experiment. The experiment needs to group of participants, people with and without martial art experience. So far, I have decided to start with 10 participants for each group (n=20 participants in total). Recently, I have asked people to join my project. There is a mix between teenagers and adults in both groups. However, teenagers to adults are larger. What pressure points will I use?I will use pressure points below your elbow and below the shoulder.
Procedure1. Connect the Dual-Range Force Sensor to LabQuest.
2. Connect LabQuest to computer. 3. Choose +/- 50N option on the Force Sensor. 4. Open up Logger Pro. 5. Find the pressure point that you chose. 6. Push it with your finger to reassure. 7. Use the ruler to measure (start from the elbow or start from the shoulder). 8. Remember to take picture along with recording the value. 9. Take the Force Sensor with the bumper attachment precisely applying force on that exact pressure point until that person responds. 10. Since the calibration only lasts for 15 seconds, record one time only. 11. Open up your excel and record. 12. Repeat 10 for two more times by recalibrating. 13. Repeat 11.
1 Comment
What Have I Found?Looking for a device to measure the amount of force when I apply to the skin took a lot of effort. At first, I did some researches on force measuring tools and devices. I found two which were Prescale film and Flexiforce sensors. With the assistance of Mr. Calos, I have found a dual-range force sensor in the science department which is more convenient and easier to use.  What is the dual-range force sensor?This sensor is especially designed to measure pulling and pushing force. The reason why it is called dual-range force sensor is because it has two range options: +/- 10N and +/- 50N. Why did I use this?What I really like about this sensor is that it has a bumper attachment for measuring pushing force. This bumper attachment allows me to apply force precisely right on the pressure point and is small as the finger tip.
Where are pressure points at a microscopic level?In our muscle fibers, there are sarcomeres where muscle contractions take place. A single motion of movement takes millions of sarcomeres to do the work.
Sarcomeres act like tiny pumps which help to circulate blood through the capillaries that supply their metabolic needs. When a sarcomere in a trigger point hold their contraction, it immediately stops the blood flow. The resulting of building up of waste products irritates the pressure point. The pressure point responds to this by sending out pain signals until the brain helps to relax the muscle. Central Pressure PointsPressure points always locate at the midpoint of a muscle's fibers. This is where the muscle is going to contract when it receives a signal. This also happens to be just the place where sarcomeres get tense, locking up and forming a pressure points. Knowing how to find the belly of a muscle, you are very likely to find a pressure point that cause pain.
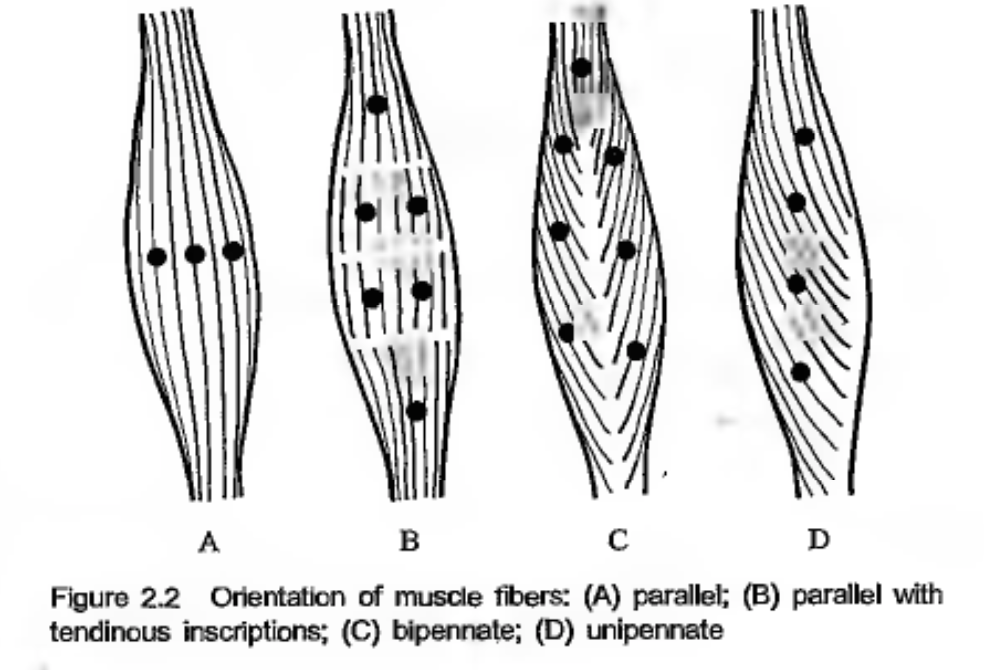
The orientation of the fibers in muscles varies depending on their functions. In a muscle made for speed (A), the fibers are parallel, and pressure points line up in the middle. In a muscle made for power (C and D), the fibers run diagonally, and since pressure points are usually found in the center of each fiber, you may find it anywhere along the muscle. (B) type muscle is found in other muscles such as the rectus abdominis of the stomach, the muscle is divided by several lateral bands of connective tissue. Trigger points can be found along those lateral bands. Attachment Pressure PointsOften, place at or near where the muscle attaches to bone are extremely painful. They are not true pressure points but highly sensitive connective tissue that has been stretched by the stress of muscle tension. Central pressure points always control these attachment pressure points. When central pressure points are deactivated, attachment pressure points start to sore.
|


 RSS Feed
